Bible
START
总共6个步骤
1. 环境配置
准备开发环境:需要安装 Xcode 开发工具和 CocoaPods 依赖管理工具。
- Xcode: 是苹果官方的开发工具,用来开发iOS、iPad、Mac上的App,是比不可少的,提供开发需要的SDK,模拟器等内容。
- CocoaPods(意思是可可豆): 是第三方库管理工具,第三方库,或者工程需要的其他的动态库、静态库、源码组件,都被称作依赖。
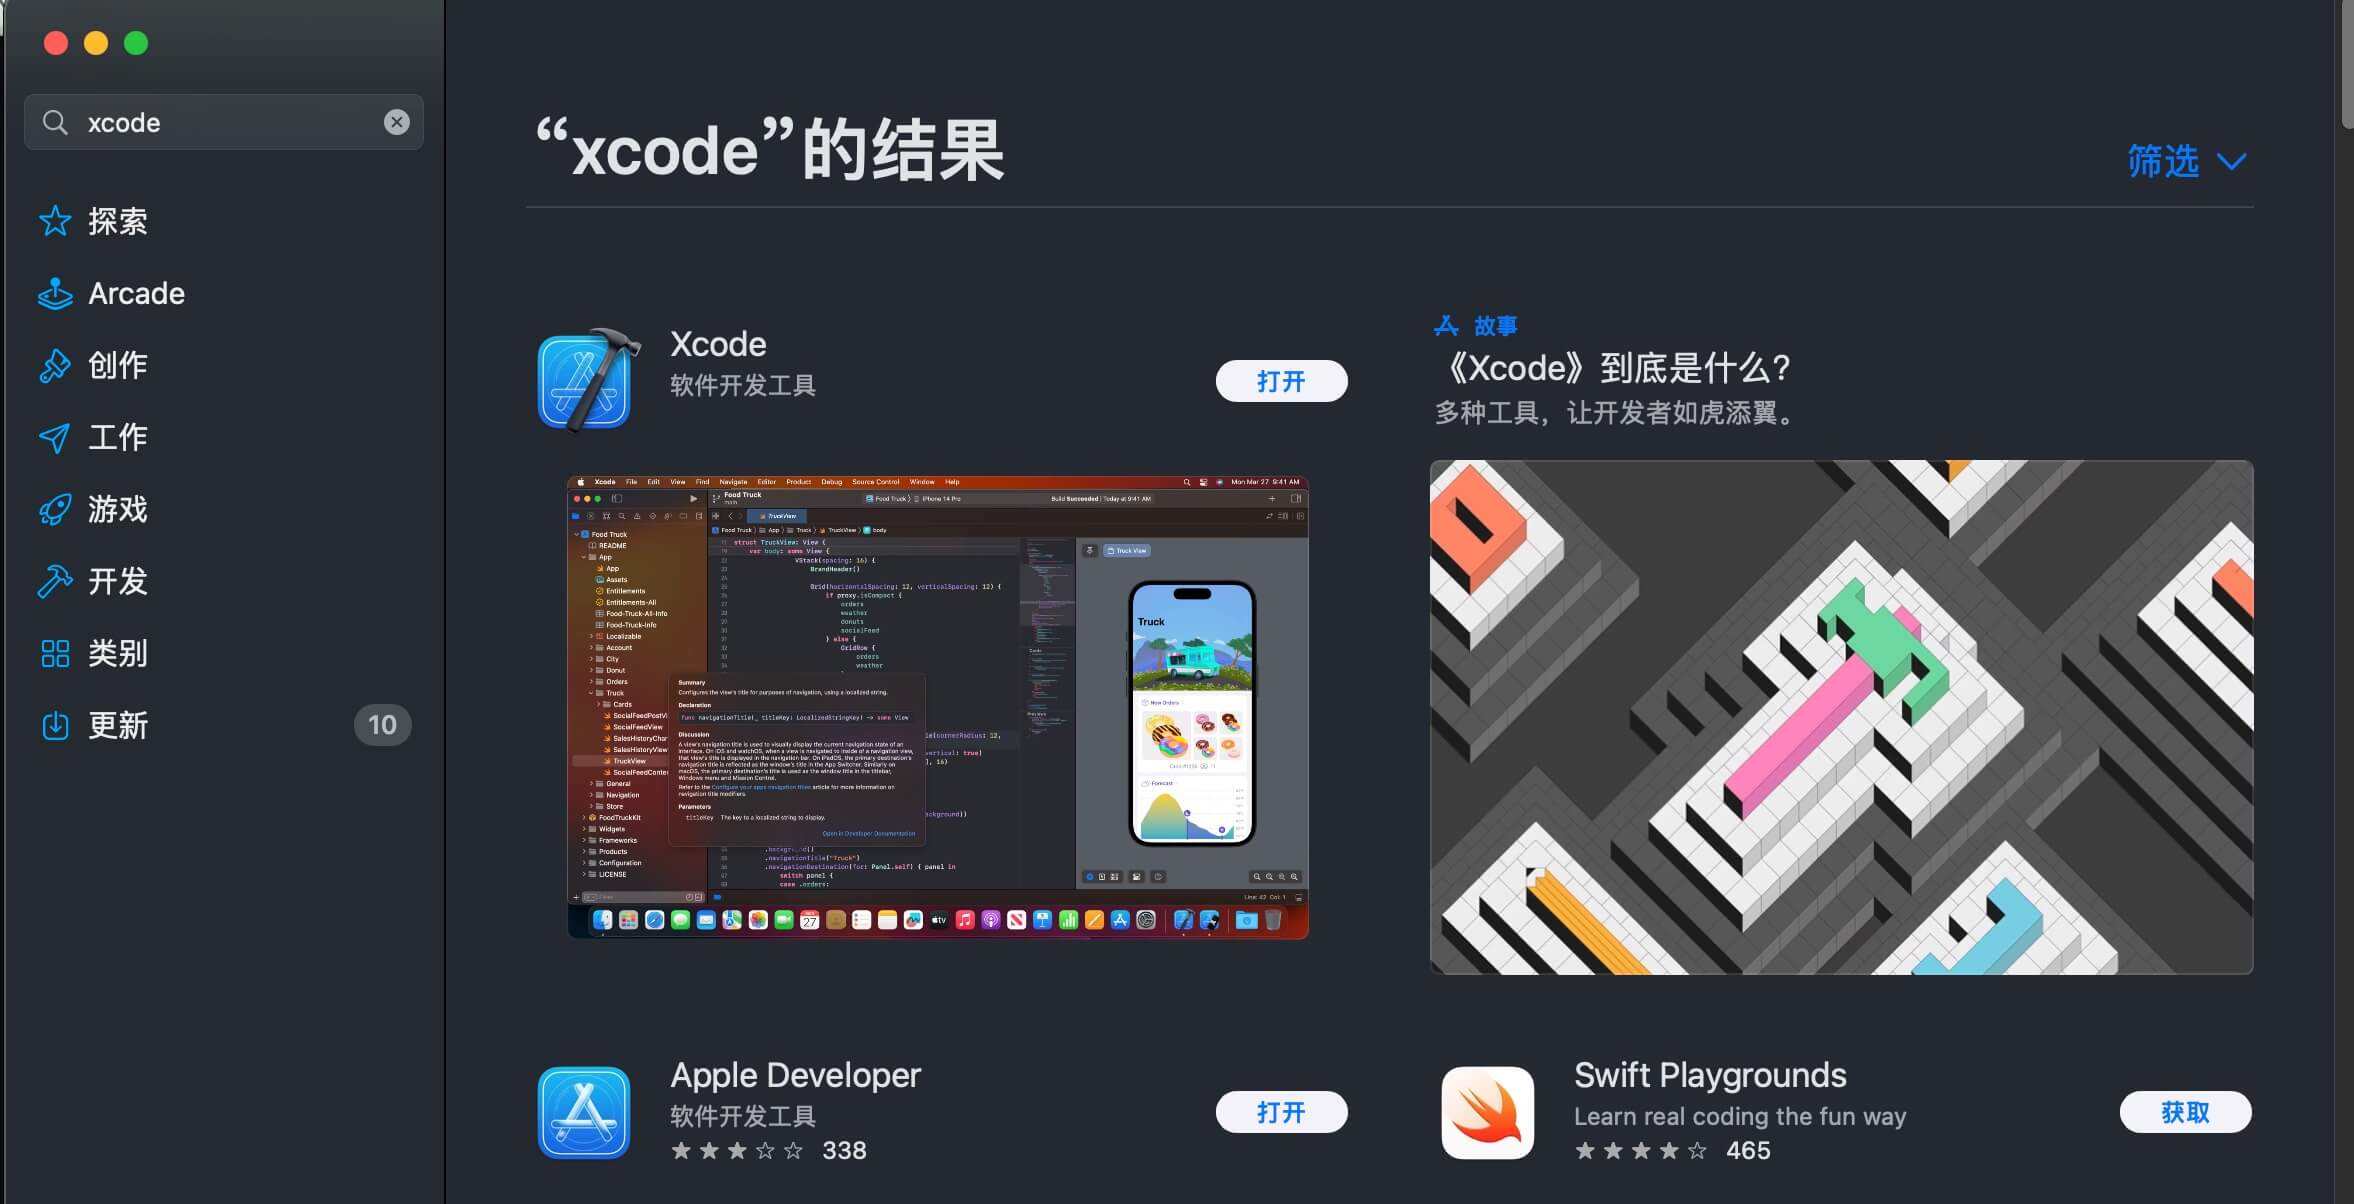
xcode在应用商店安装就行, 版本暂时不做限制,最新稳定版本14.2,或者更高,基本不会有问题。
然后根据Cocopods官网的指导,安装cocoapods
sudo gem install cocoapods
2. 克隆代码
这里暂时认为大家比较熟悉git操作,如果还比较不熟悉,可以看pro git 了解版本控制系统,或者其他的相关材料。
代码仓库,也就是本仓库: https://github.com/Bible0x1/Bible
Bible0x1是组织名字,Organization,是github提供的一个多人协同的工作区。
clone推荐使用ssh的方式

3. 安装依赖库
使用 CocoaPods 安装项目中所需的第三方库。
依赖是在Podfile文件中申明
.
├── Bible
├── Bible.xcodeproj
├── Bible.xcworkspace
├── BibleTests
├── BibleUITests
├── Podfile <------ 这个
└── Podfile.lock
内容是:
# Uncomment the next line to define a global platform for your project
platform :ios, '13.0'

target 'Bible' do
  # Comment the next line if you don't want to use dynamic frameworks
  use_frameworks!

  # Pods for Bible
  pod 'AFNetworking', '~> 3.0' # 网络库
  pod 'WCDB.objc'               # 数据库框架
  pod 'Masonry'                # 布局框架
  pod 'LookinServer', :configurations => ['Debug'] # 布局排查工具
  target 'BibleTests' do
    inherit! :search_paths
    # Pods for testing
  end

  target 'BibleUITests' do
    # Pods for testing
  end
end
运行命令, 安装依赖:
pod install
应当有如下输出
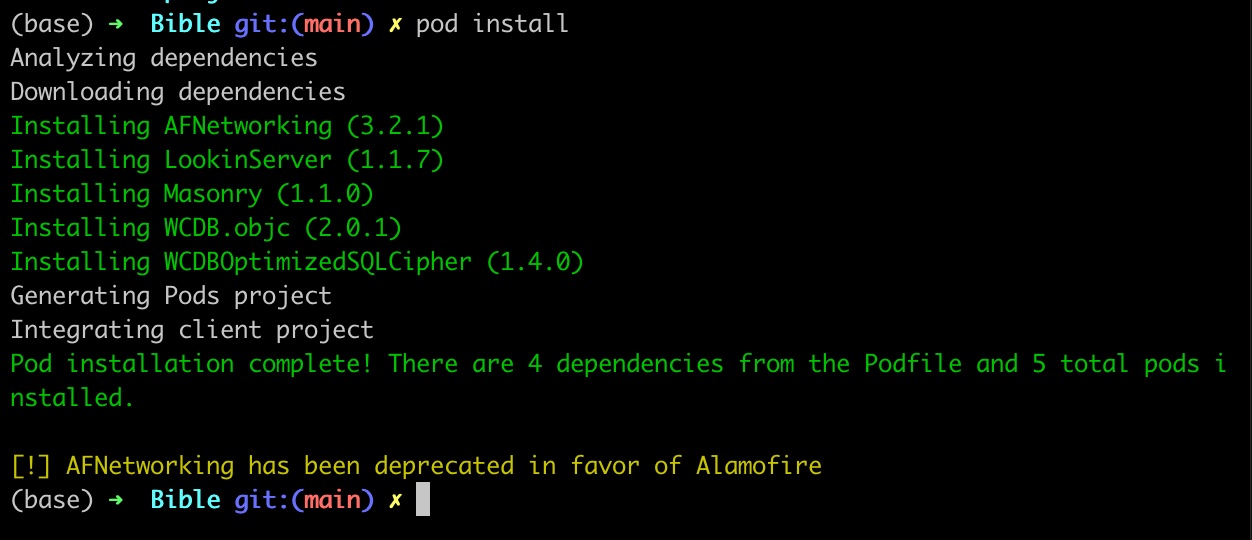
并且会自动生成Bible.xcworkspace工程文件
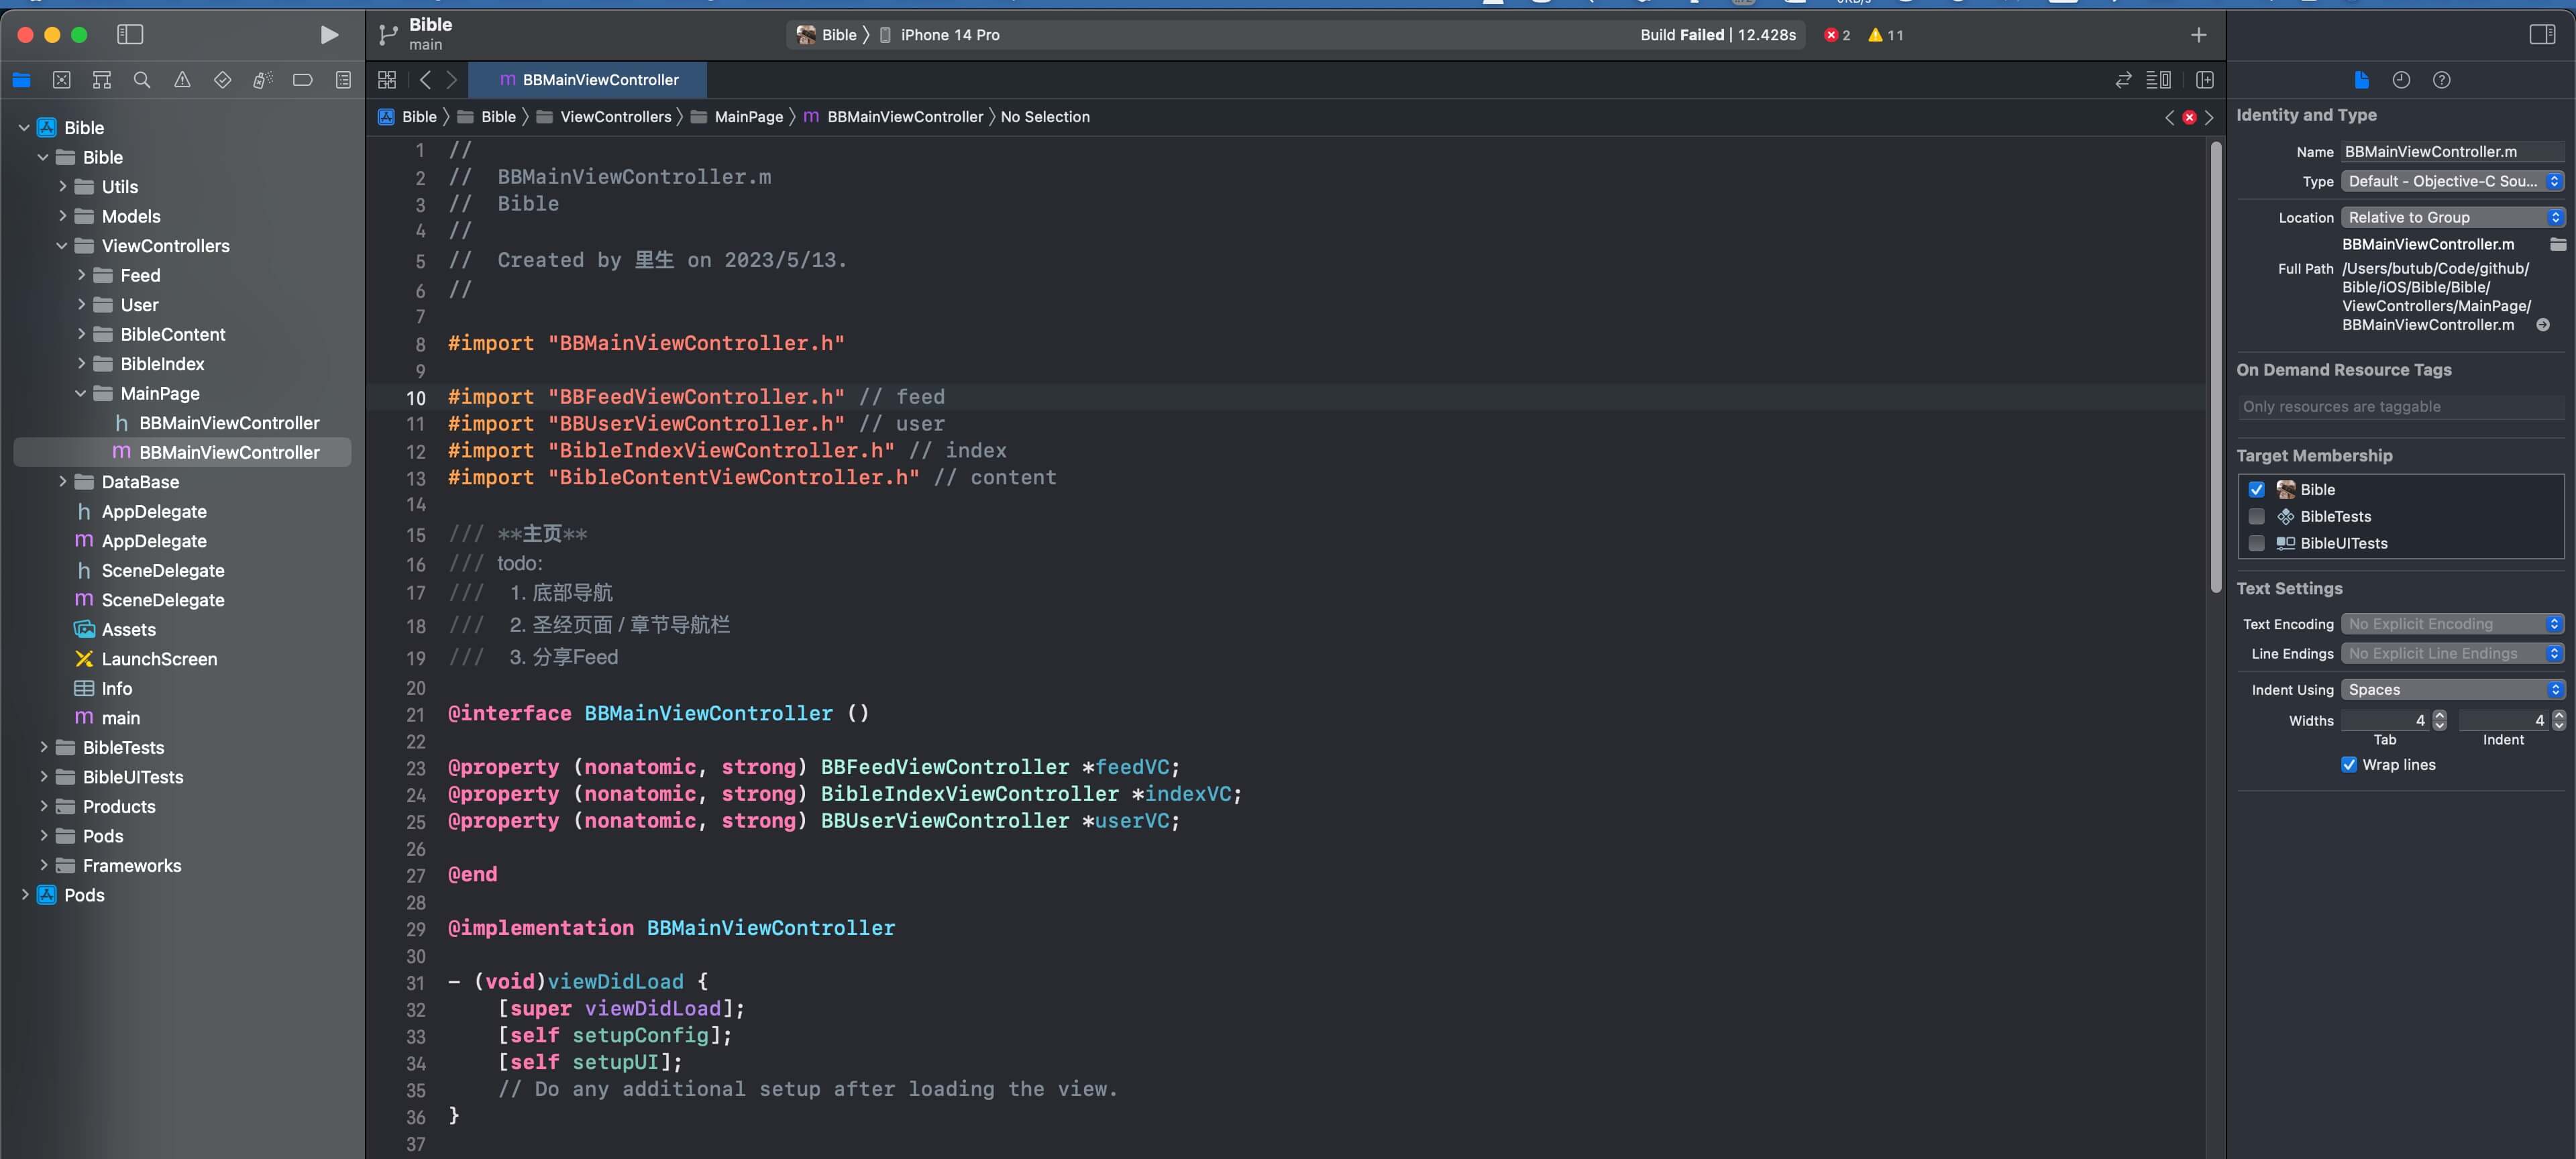
4.打开工程文件:
一般Xcode默认的是*.xcodeproj
我们这里使用Cocoapods生成了另一个*.xcworkspace文件。
打开它:
open open Bible.xcworkspace
预期会是这样:
如果打开不一样,那么应该是xcode版本不对,需要更新到14.2或者更高, 可以下载一个xcodes来进行多xcode版本管理。
 xcodes中下载需要的版本:
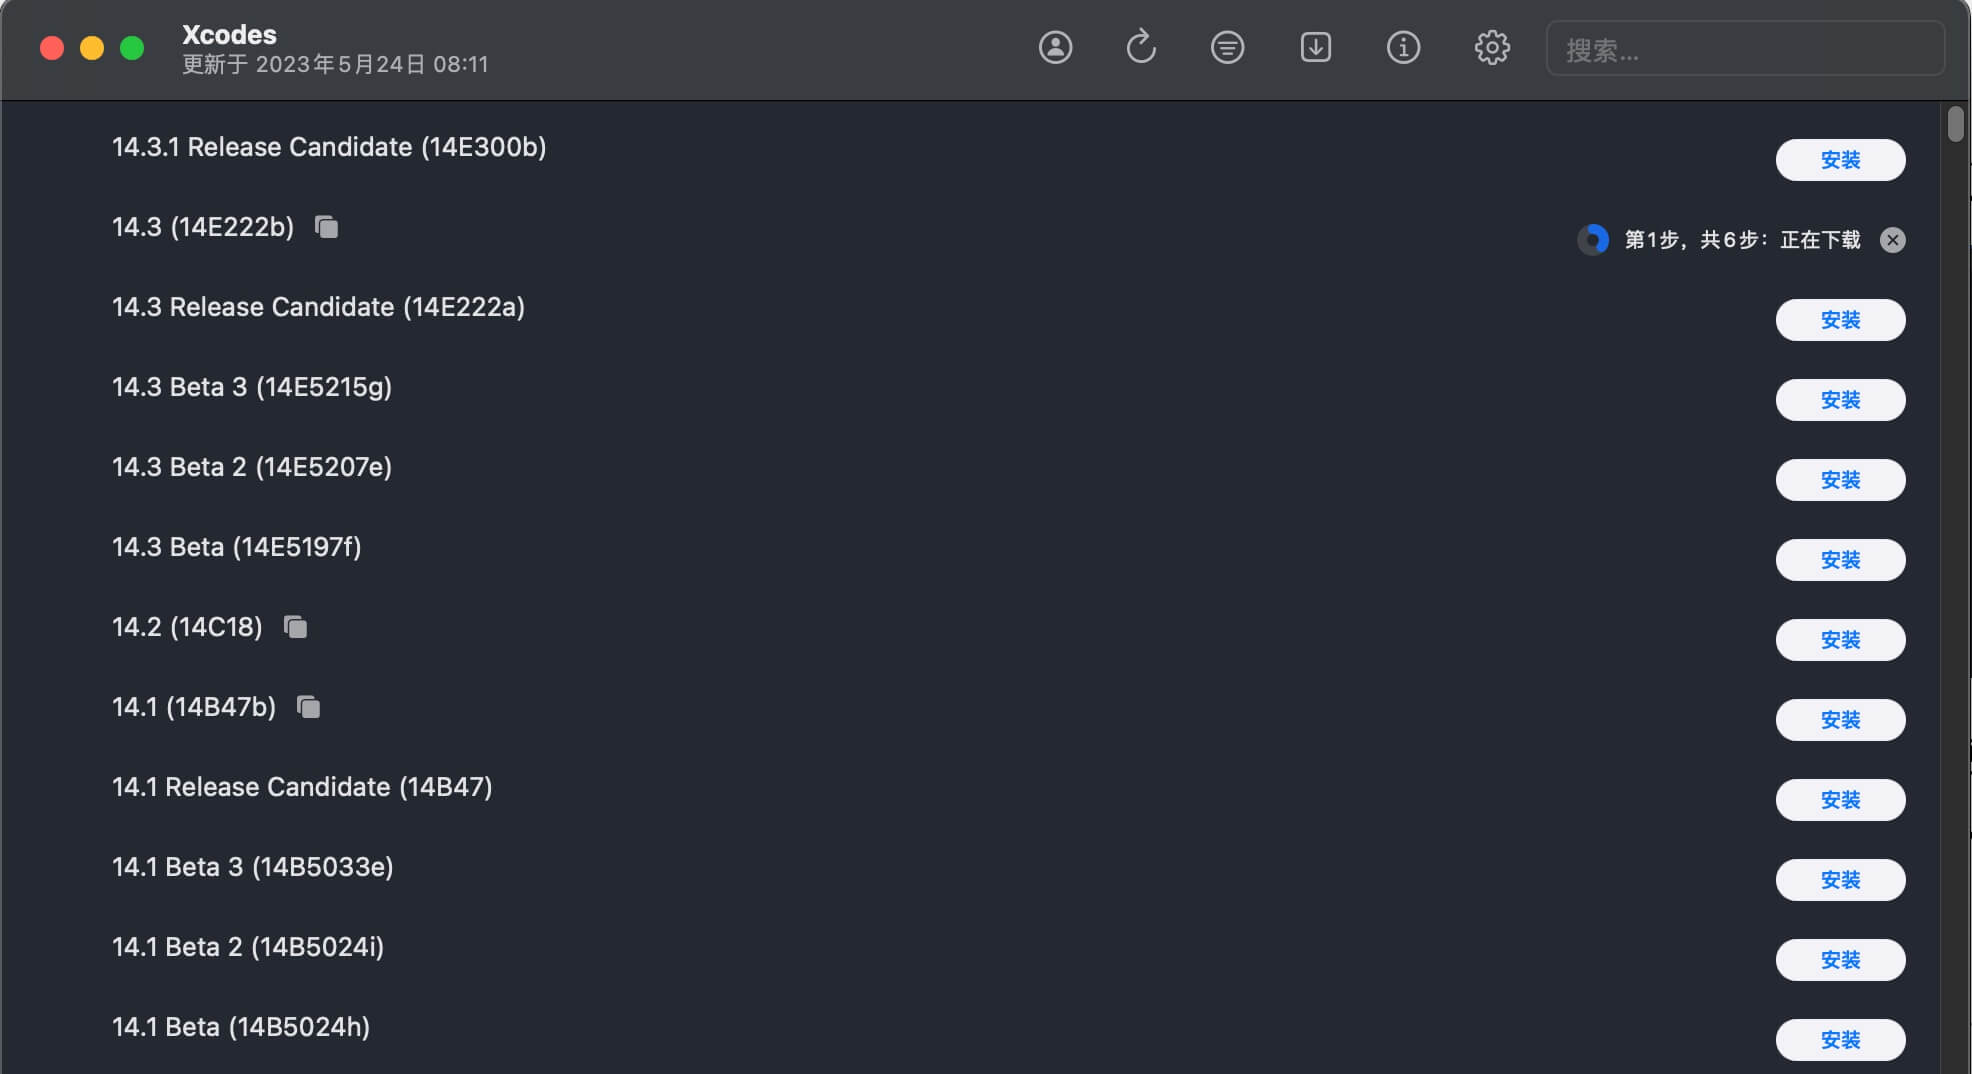
⚠️ 注意:有可能也会需要更新Mac OS的版本,这也是正常情况,iOS开发的生态是如此,受制于苹果的生态。
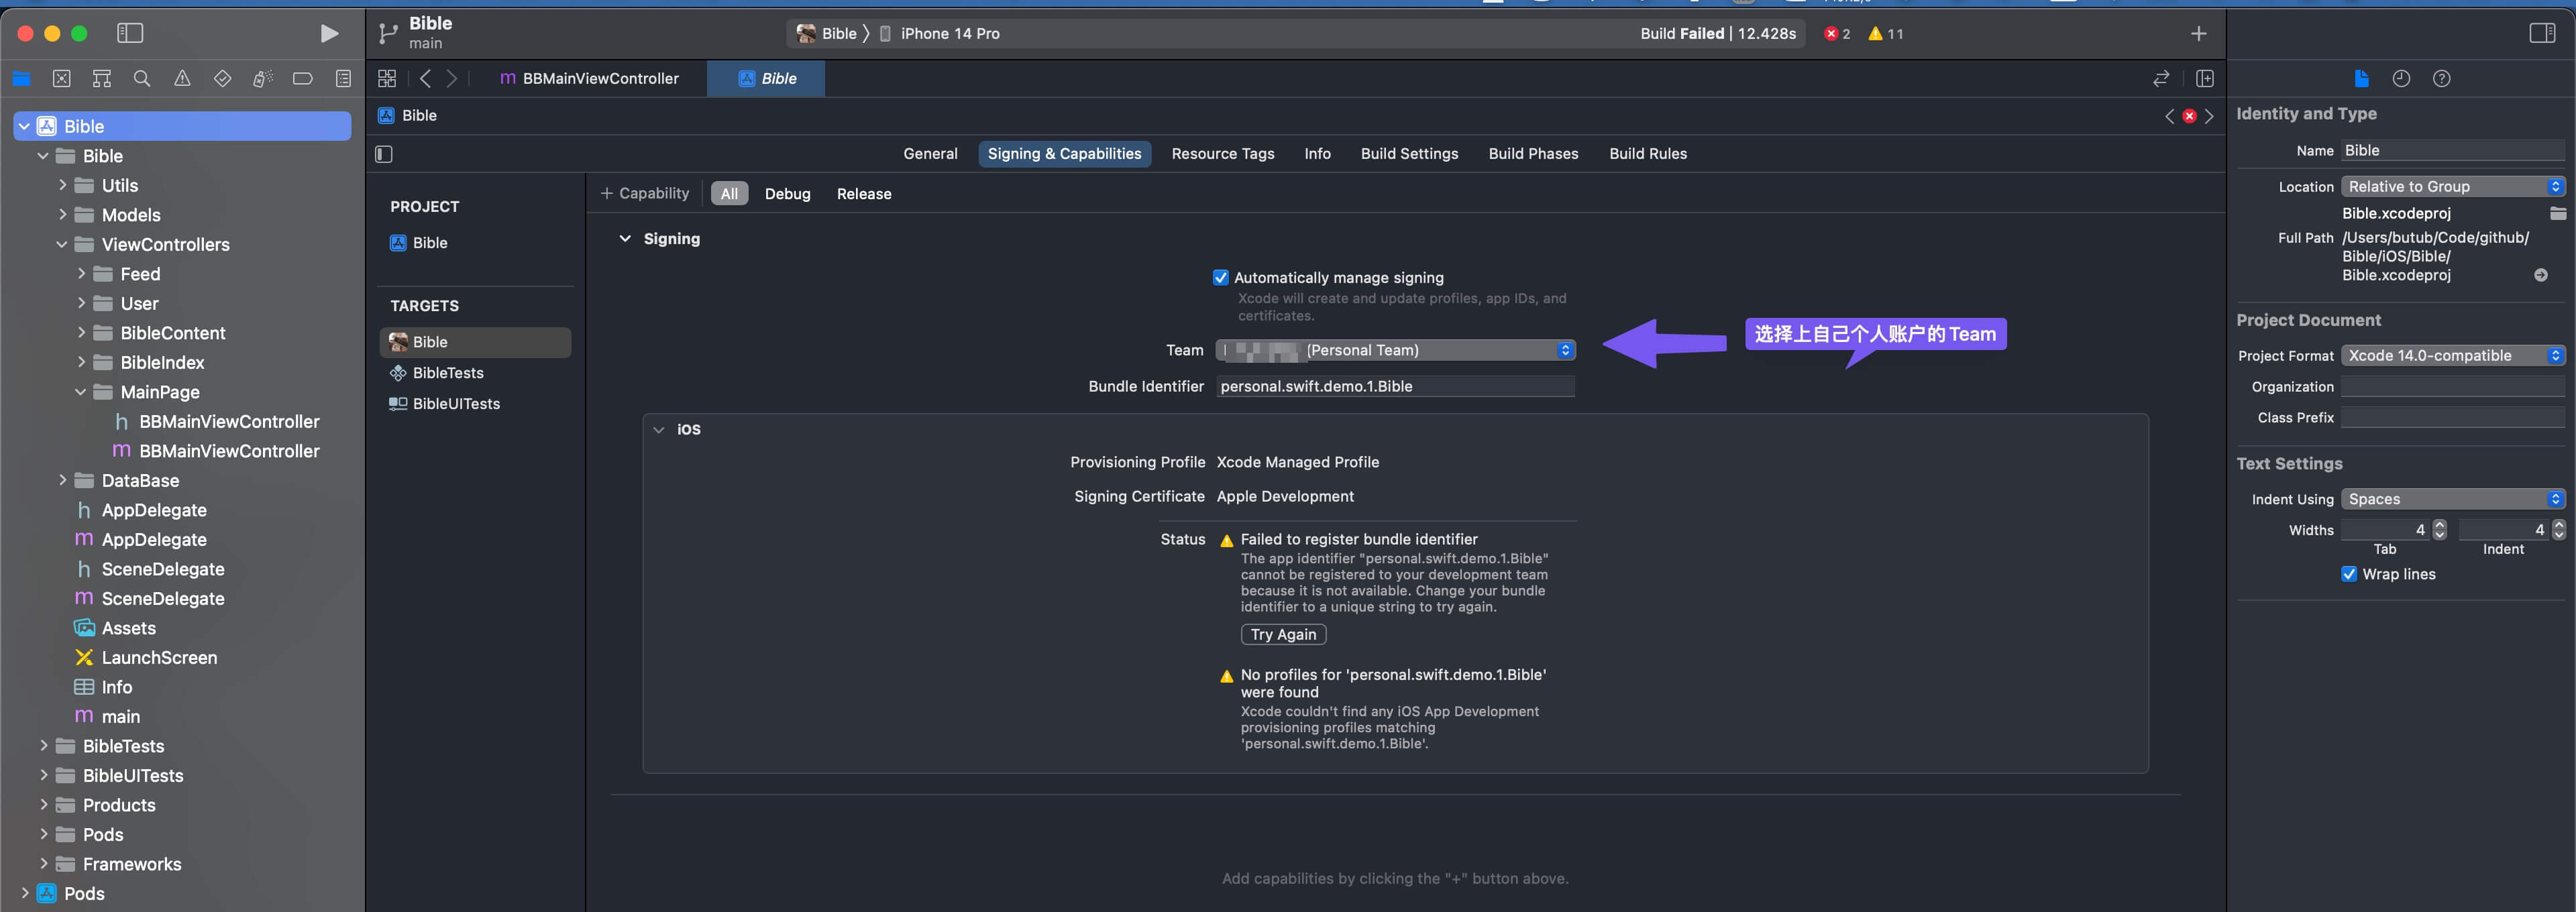
5. 配置证书和配置文件
需要为应用程序签名, 不然第一次编译,会有如下的错误
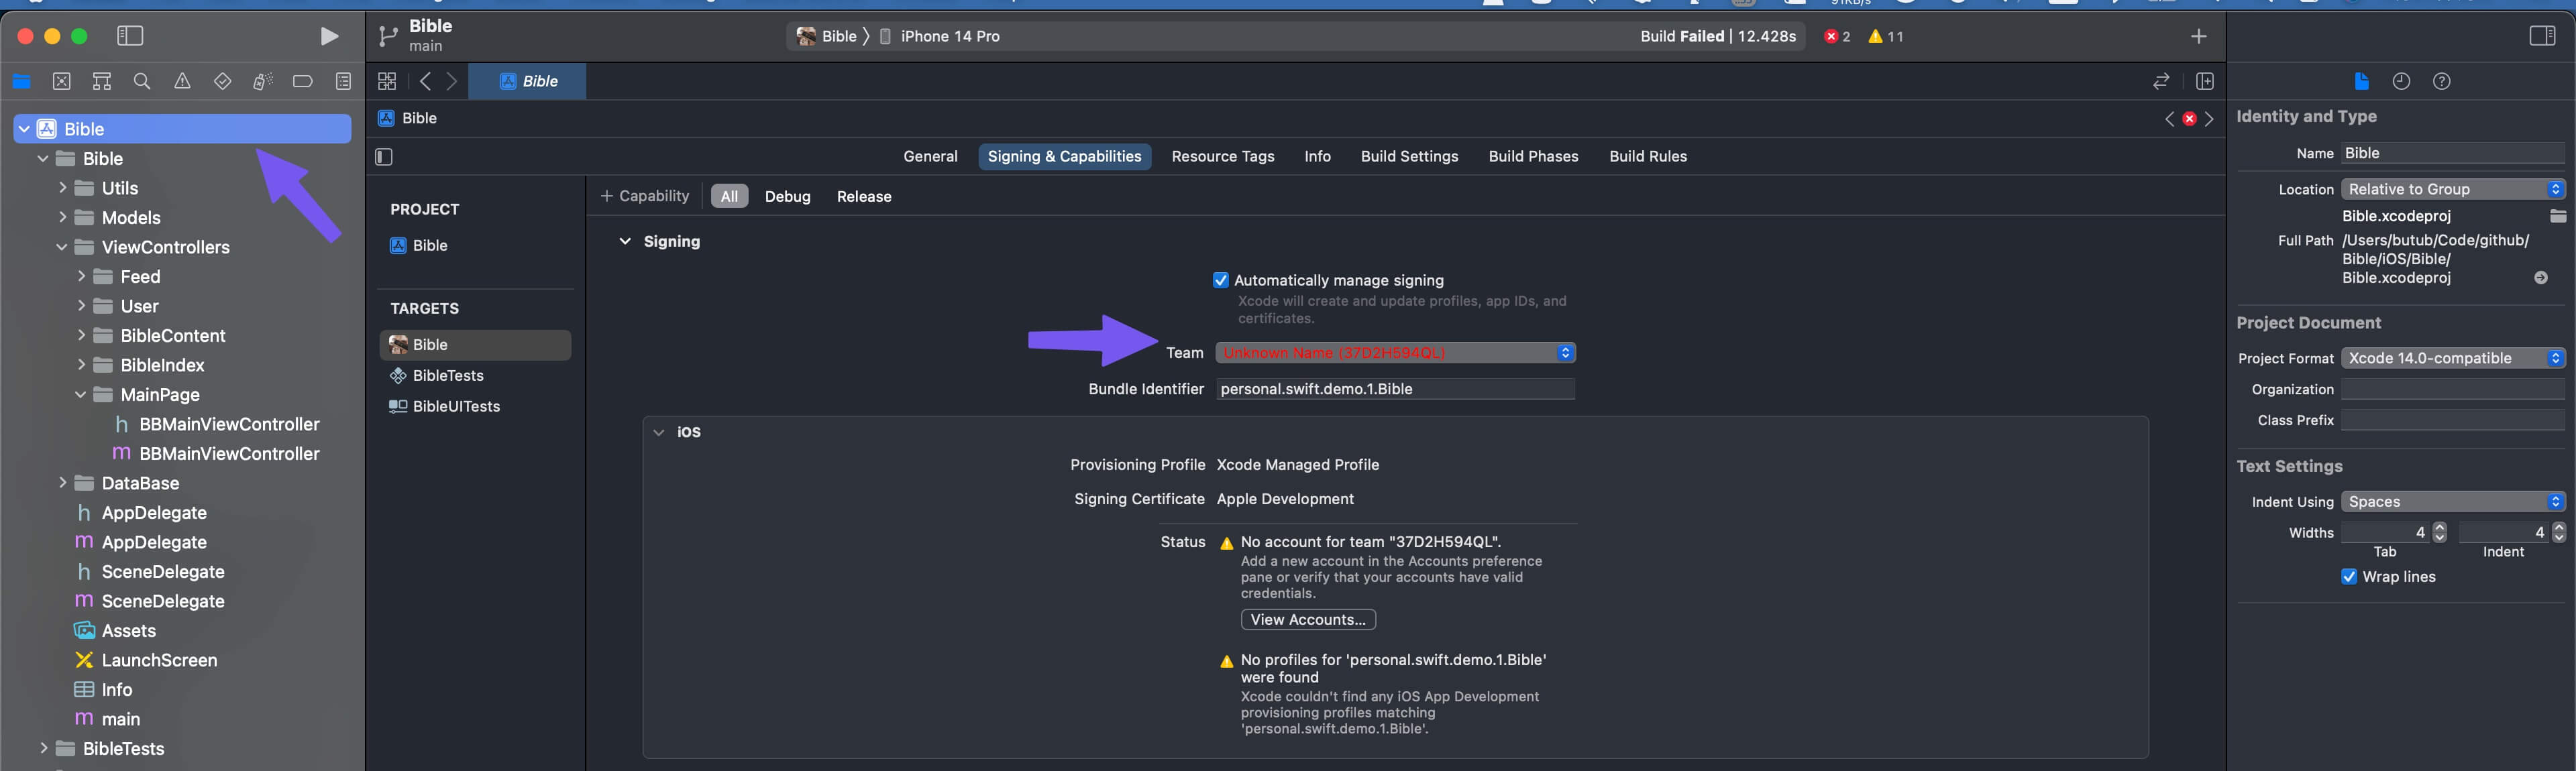
选择上自己的账户:
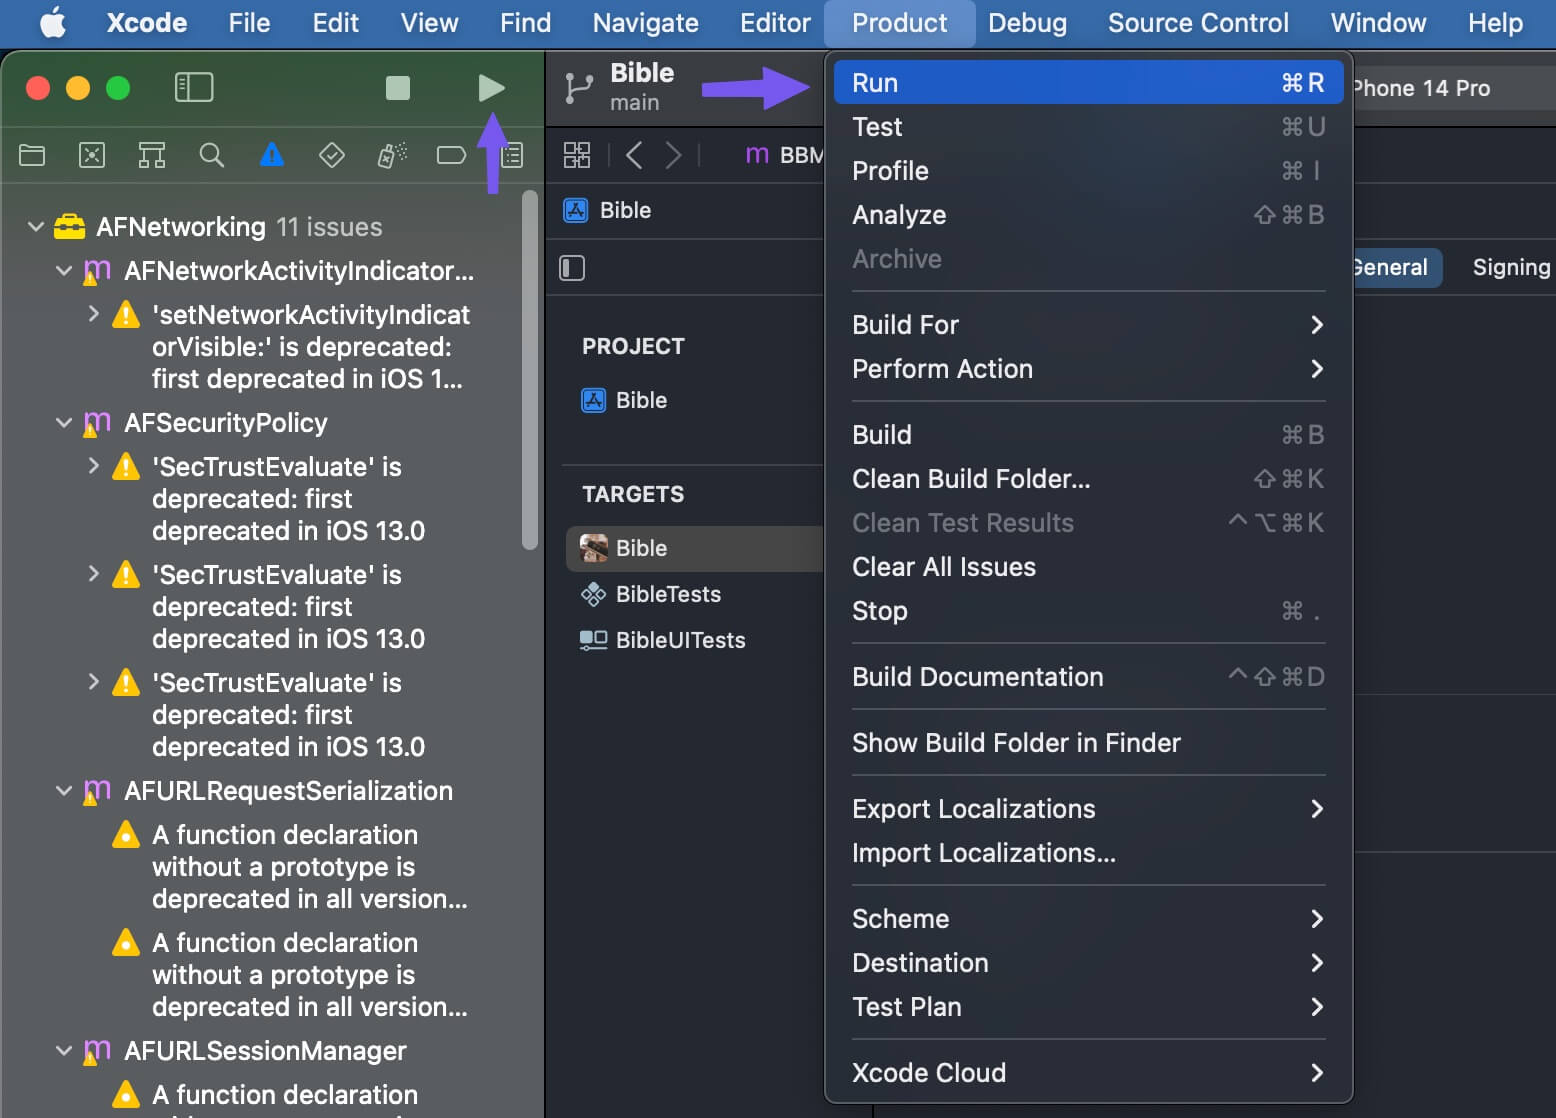
6. 编译并运行
使用 Xcode 的「Product」菜单中的「Run」命令编译并运行应用程序。
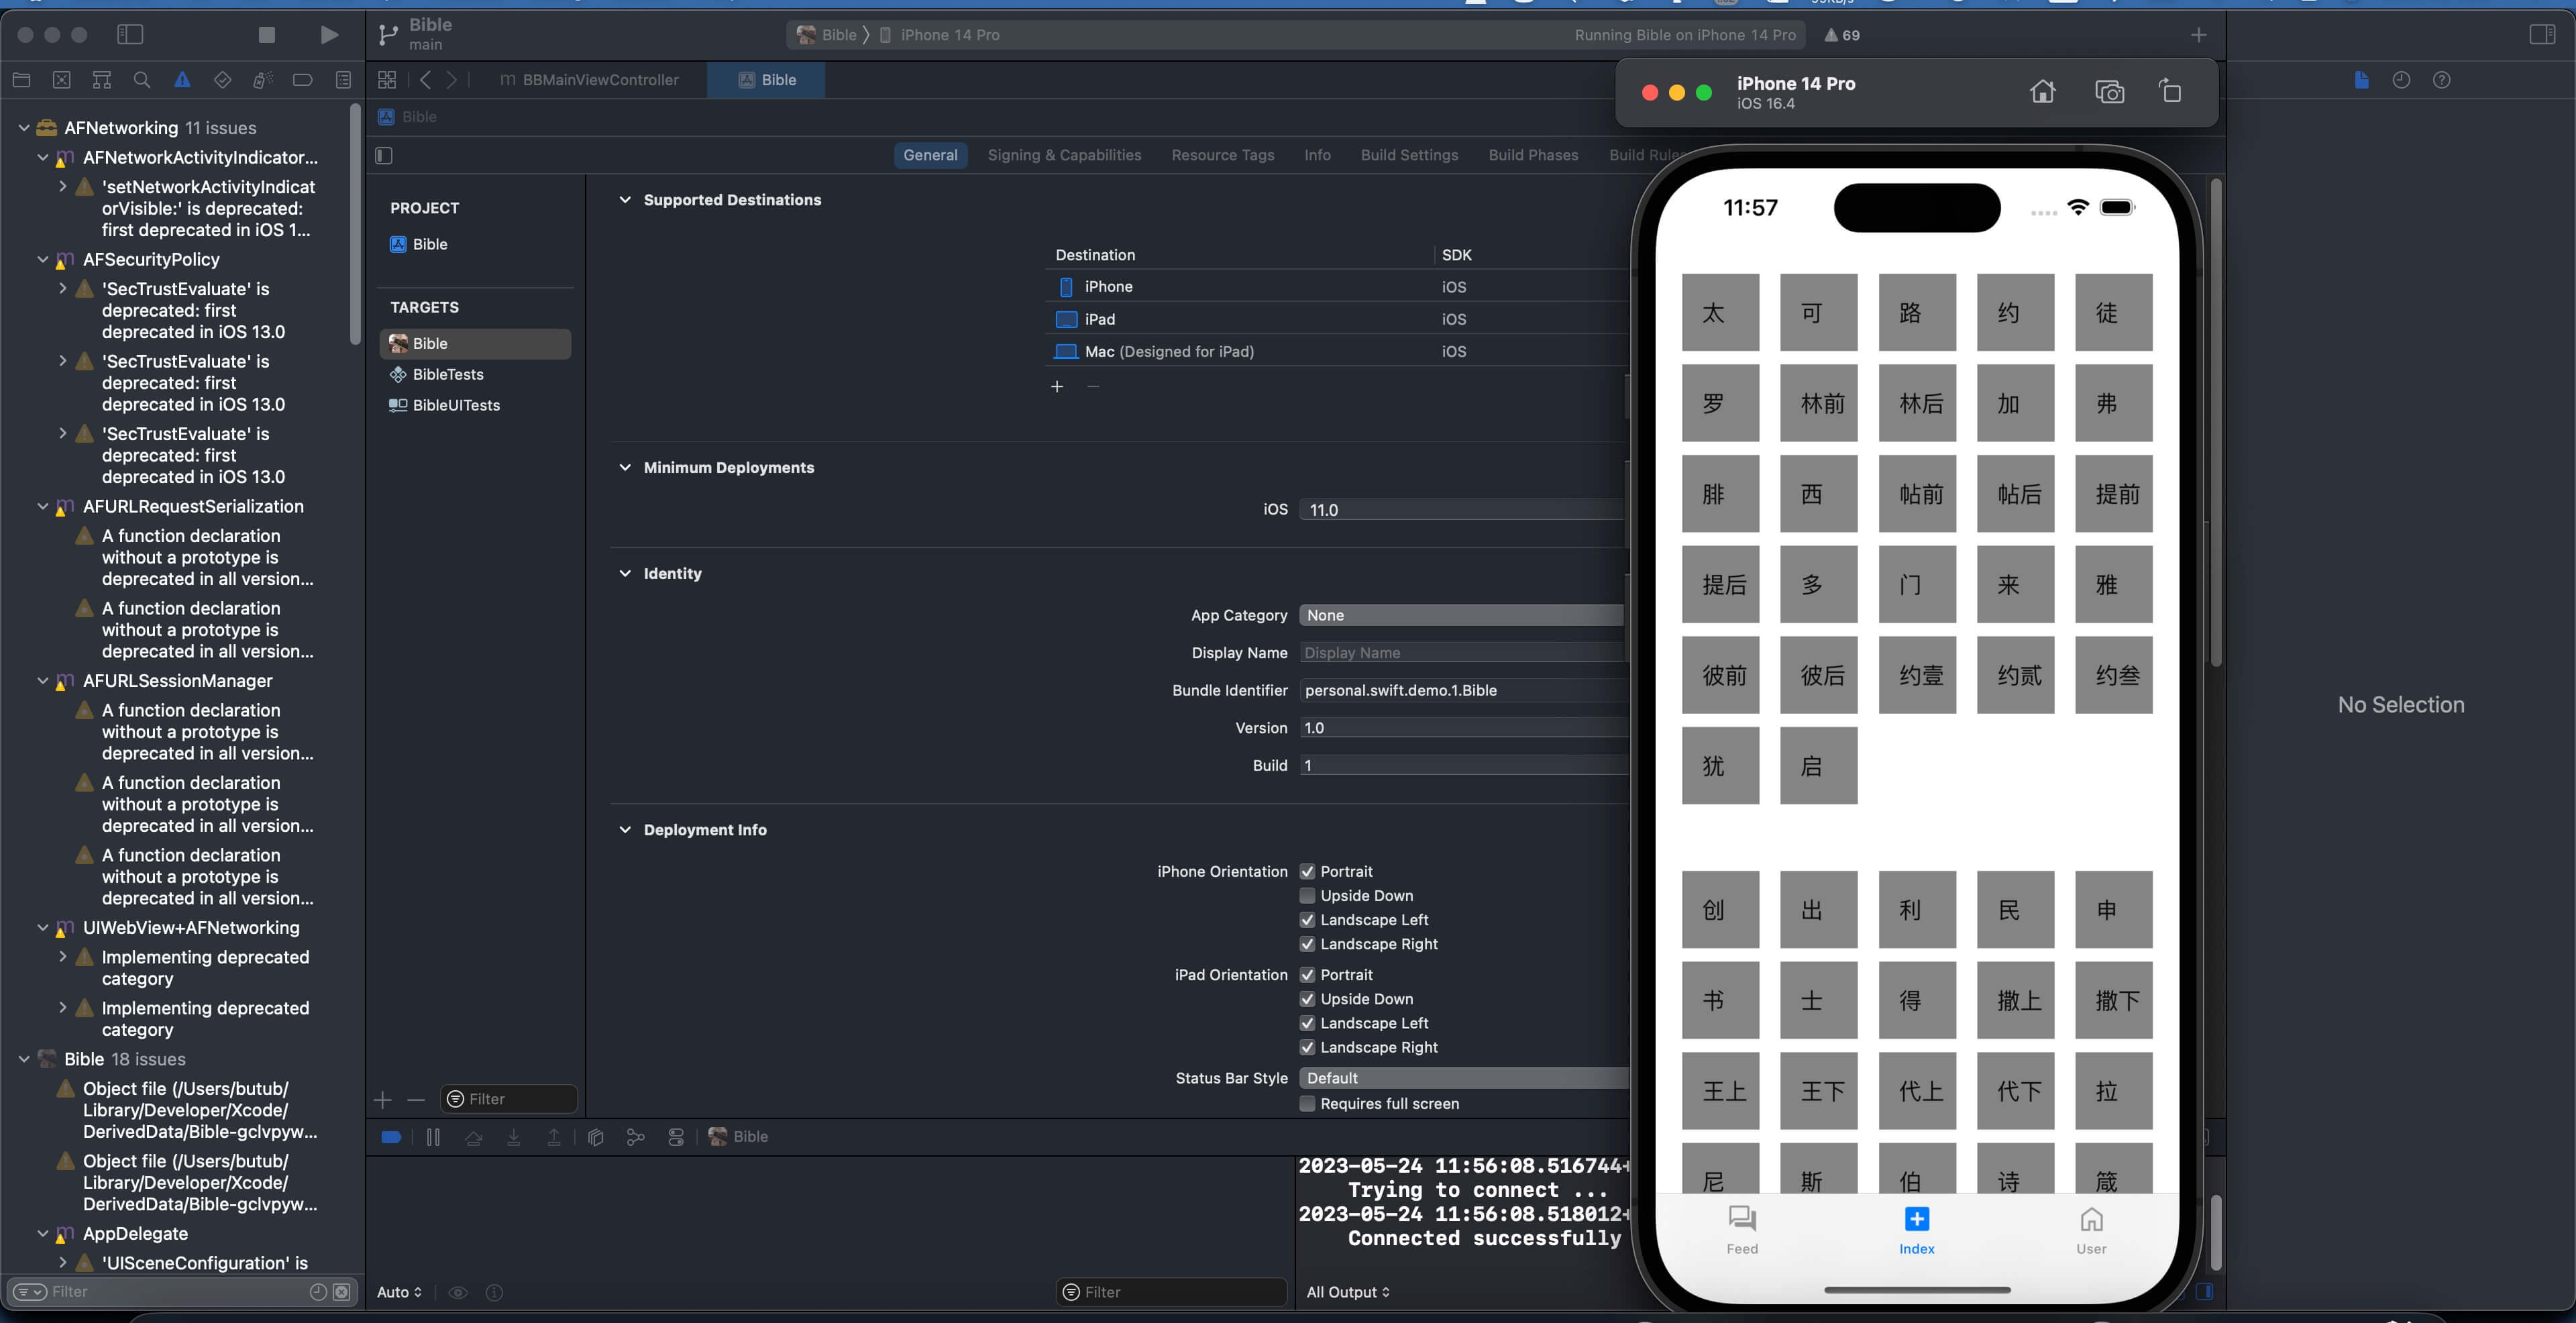
模拟器上,跑起来是这样的:
疑难杂症
1. 本地多ssh账户
错误提示:
(base) ➜  Bible git:(main) git push origin main
ERROR: Permission to Bible0x1/Bible.git denied to xxx.
致命错误:无法读取远程仓库。
记得加入到Identity中
(base) ➜  Bible git:(main) ssh-add   ~/.ssh/id_ed25519_swish0x7
Identity added: /Users/butub/.ssh/id_ed25519_swish0x7 (swish0x7@gmail.com)